Fixing a Protel Payphone Part 1: Getting Dial Tone
Hi reader, since this post was written, there have been extensive issues getting the Protel board fully working and programmed. Because of this, a part two follow-up will be delayed but will definitely materialize after we do end up making use of the Protel board. In the meantime, we will be utilizing a coinless board within the payphone for our first install.
I’ve always been interested in payphones, though I’m really not sure why. Maybe it was that kind of hacker mystique that was associated with them; there was something about exploiting a piece of technology that people just left on the street. In the late 2000s I watched as payphones slowly started to disappear, and people didn’t really seem to notice. Around that time I was able to buy a payphone at a flea market and snapped it up as quick as I could. I had never seen a payphone for sale “in the wild” before and I haven’t seen once since, but the price was right and I hauled the heavy thing away with hopes of getting it working and installing it for regular use in my home. However, when I got the phone home and plugged it into the phone line, I didn’t get a dial tone. So, it sat, waiting for me to find time to look at it again. Now, around a decade later, I grabbed the phone and took it home to finally figure out why it wasn’t working.
First thing I needed to do was to hook the payphone up to some sort of phone line. Luckily the lock for the upper housing on this phone is broken, so opening it up is as simple as using a T-Key (which is essentially just a special wrench). Inside the payphone is a terminal block which makes it easy to connect two wires from an unterminated phone cable to screw-down terminals which is hooked into the payphone’s smart board via an RJ11 connector.

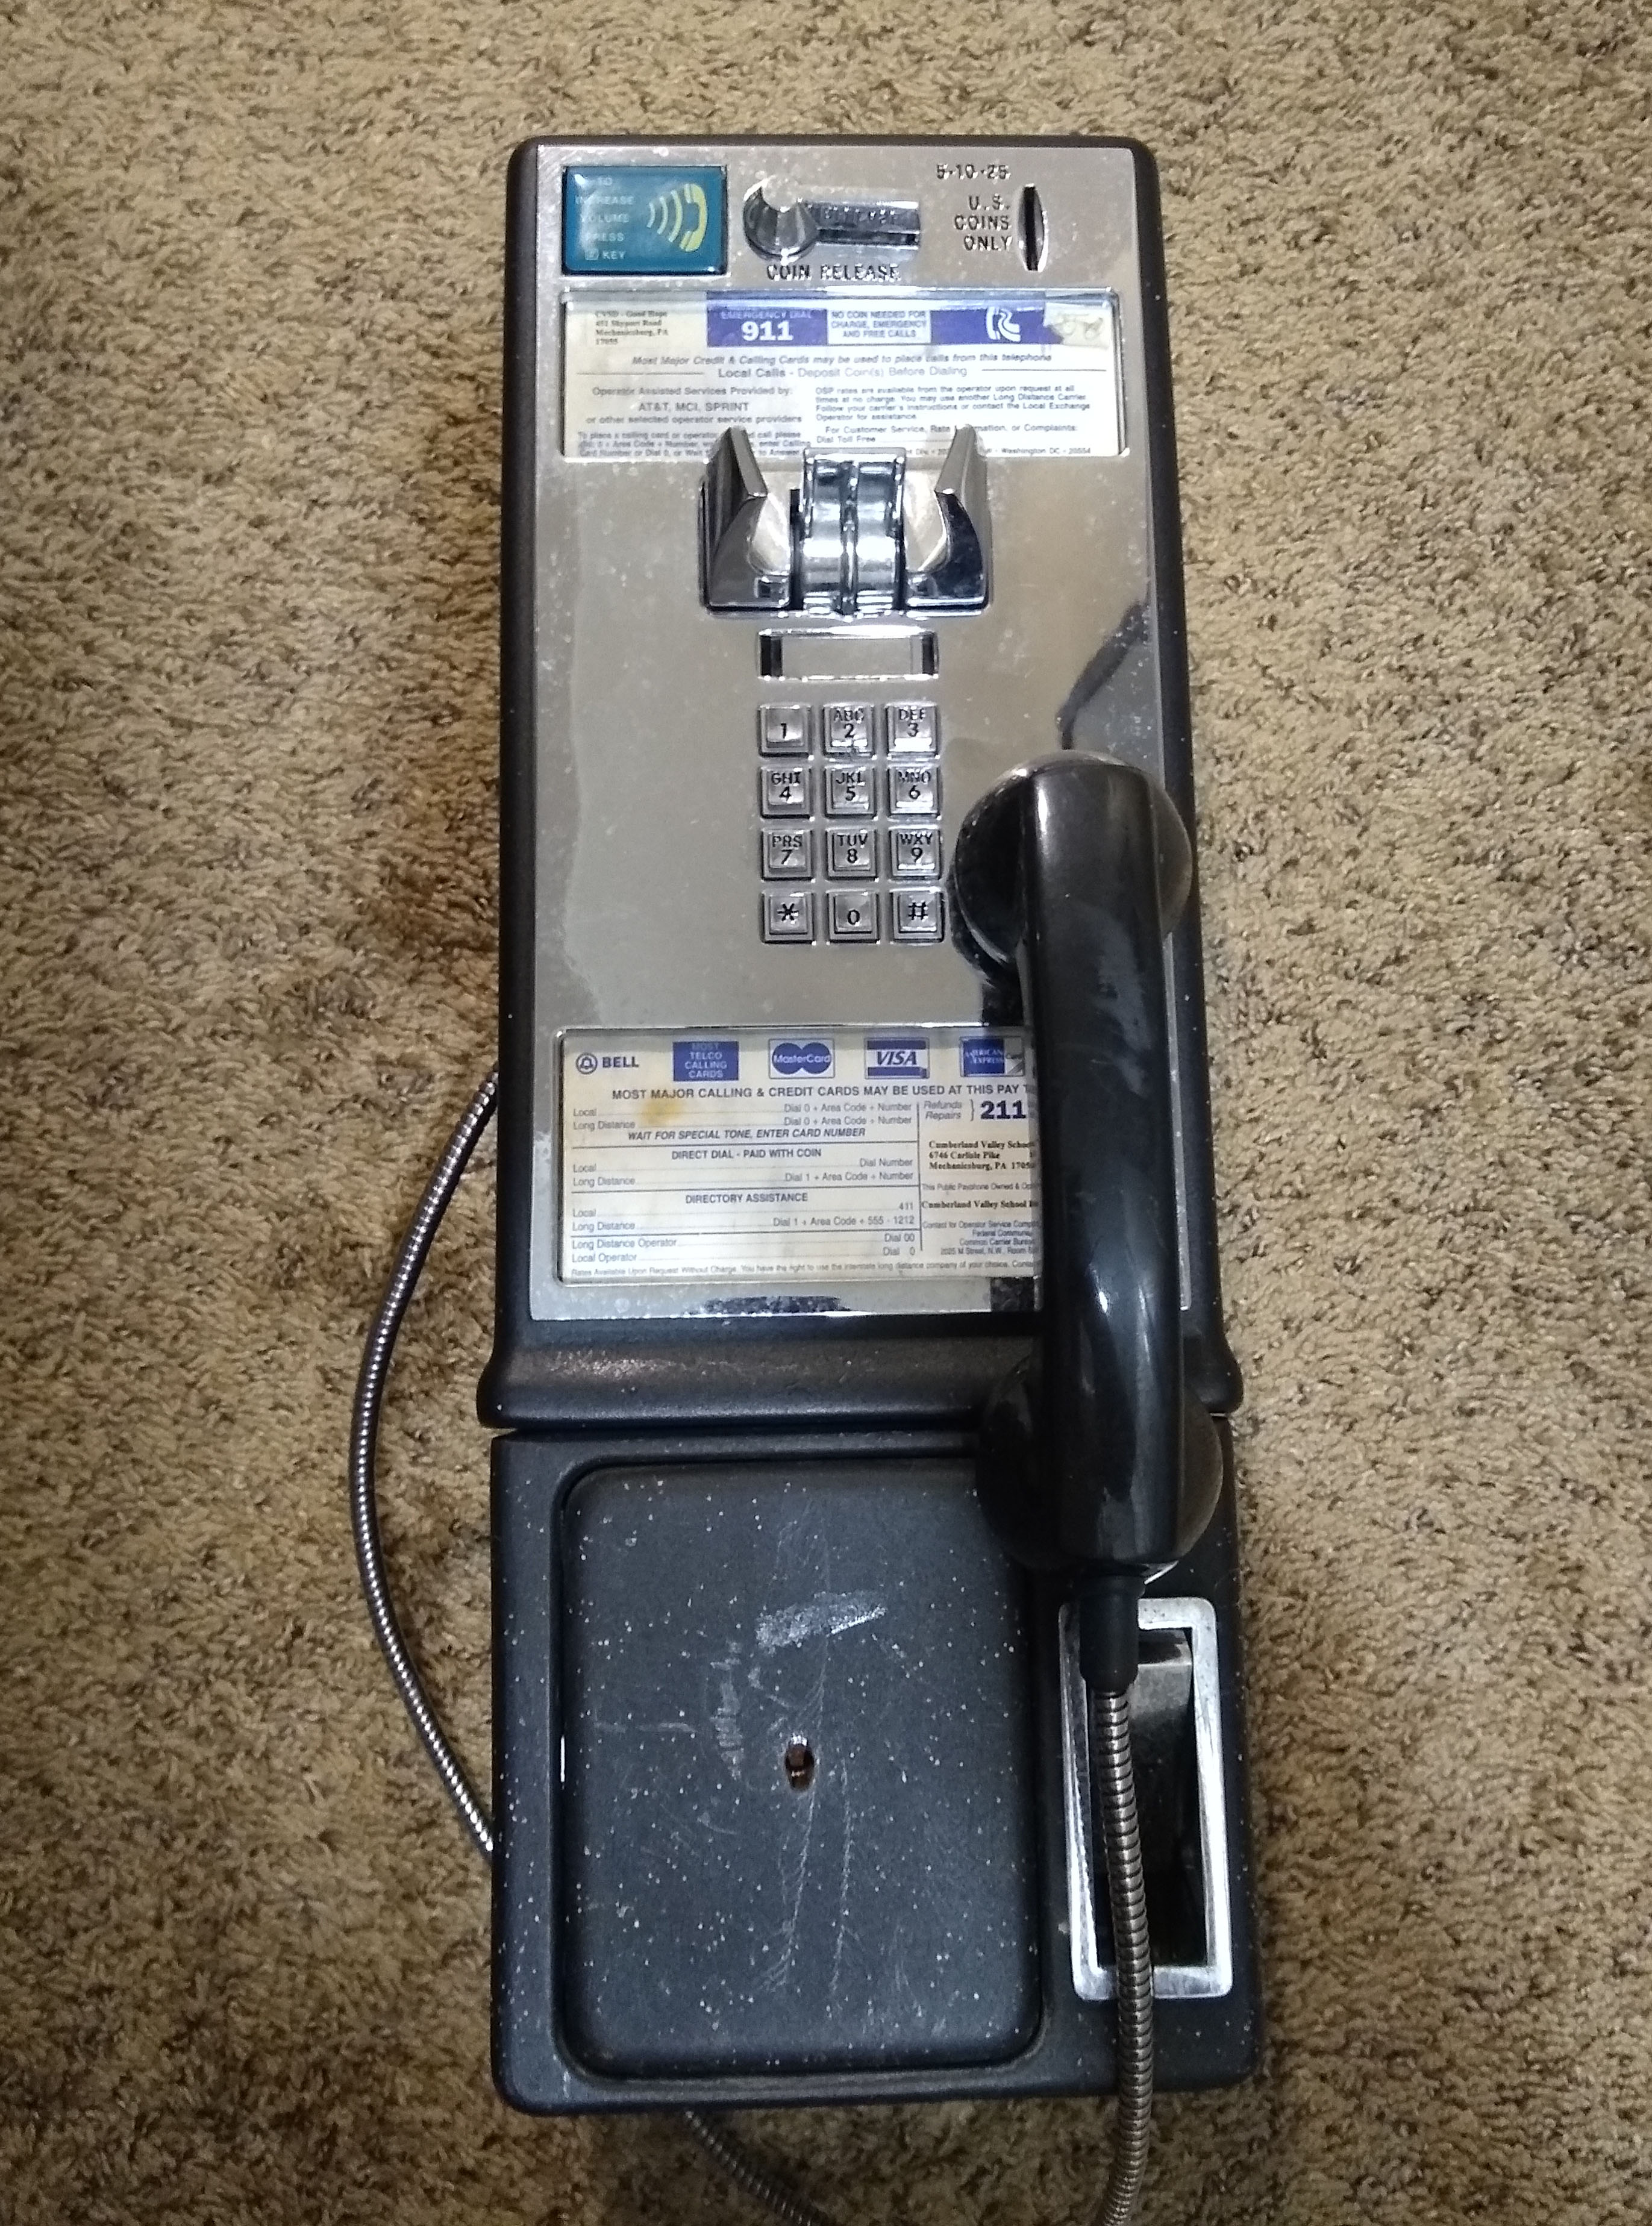
A quick notes about smart boards, these became fairly popular in the ’80s and ’90s with Customer-Owned Coin-Operated Telephones; a private company could install a payphone somewhere and collect all of the money people put into it as opposed to a telephone company operating a payphone itself. Smart boards allow for rates (with incredible granularity) to be programmed for different types of calls on the phone itself, offering remote administration and programming. Remote access in particular is an awesome feature if you want to check on your phones from afar, provided you have the proper software and (sometimes) hardware. My payphone happens to have a Protel 7000 board, which is a fairly standard, unexciting smart board. The board and other components of the payphone are date-stamped with 1997 making this payphone 25 years old! You may notice that the coin slot is on the right side of the payphone, which is an indicator (amongst others) that this is a GTE-style “Fortress” payphone, which was very popular in the ’70s and ’80s. Some phone-company-owned payphones would eventually be converted to COCOTs, so this phone could actually be older with newer internals, though it is more likely that I have a clone design from Protel called the “Sentinel.”
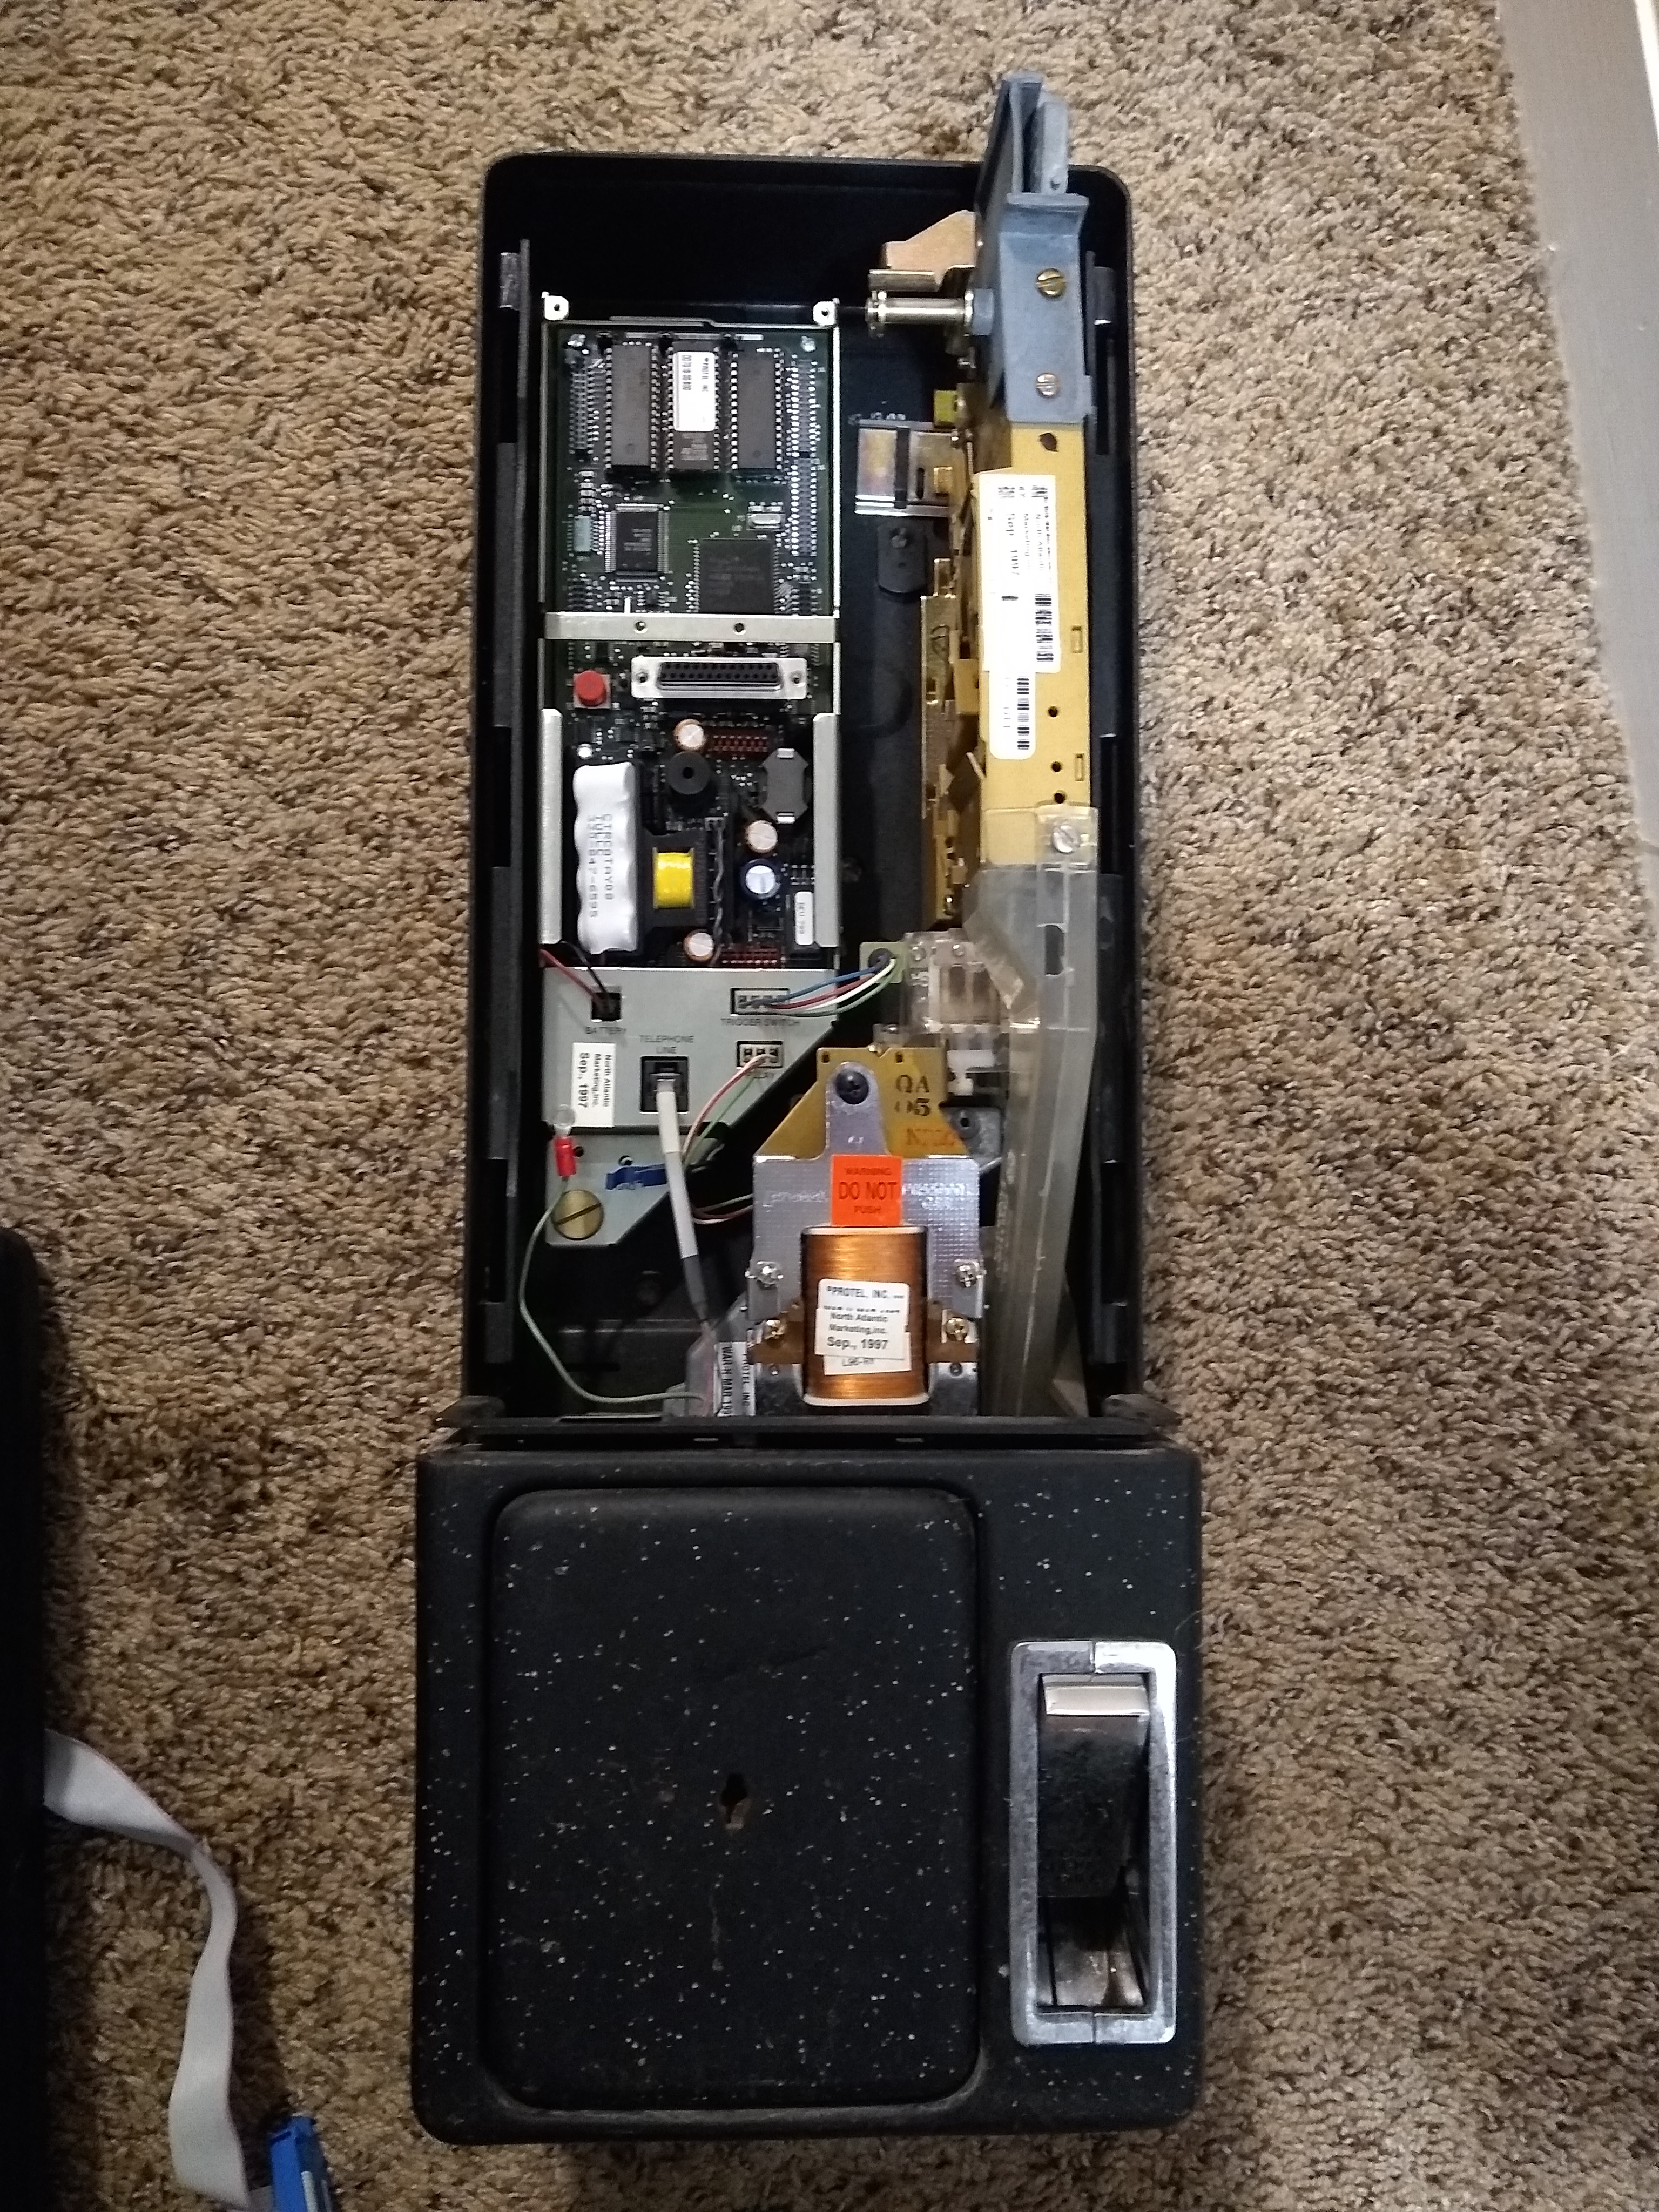
I decided to bypass the terminal block in the payphone and just connect a standard phone line into the Protel board with the other end connected to a known-working analog telephone adapter (ATA) I had around. I didn’t get a dial tone, so I plugged the cable into the voice jack on my cable modem instead of the ATA. Still, I had no dial tone. I decided to check online and one recommendation I saw was to replace the smart board’s batteries. The Protel 7000 seems to have two batteries: a 3.6V battery for keeping RAM settings and a 4.8V battery that I can only guess is used for operating the coin relay. Luckily payphone.com sells both of these batteries so I was able to order them and replace the dead batteries on the board. After the battery installation I plugged the phone line back into the board and left it that way to charge. Apparently the batteries need to be almost fully charged before the phone will be reliable enough to use, and threads I found online suggested leaving the phone plugged-in and alone for a few days. After three days however, still no dial tone.
The Protel 7000 manual has tests outlined for checking line amperage, battery voltage, and handset continuity when you don’t have dial tone. These tests are easily accomplished by a multimeter, and nothing seemed outside expected results when performing them. I then thought maybe the handset was broken and I knew I had a spare one stored away somewhere that I had found at a flea market in the past. I was able to dig out the handset, but switching it out didn’t work, so my next suspicion was that the Protel board was dead. Doing some research, a replacement Protel board would cost around $80, while a full coinless conversion (replacing the smart board and keypad) would be closer to $120. Aside from the Protel board the only other thing between the telephone line and the handset was the keypad, and replacing that would only cost $20. I decided to try this first with the thought that if this didn’t change anything I could return it and consider replacing the Protel board after.

The keypad interfaces with the Protel board through a DB-25 connector (thought not every pin is used) and the assembly has easy-to-use connections for the handset and volume controls which makes installation painless. After swapping out the new keypad I now had audio, but no dial tone. This was a partial success, something changed! Instead of a dial tone, I kept hearing voice say “Error 1” repeatedly. Some online searching later and I found that this was a RAM error and I needed to reinitialize the phone. This makes a lot of sense since the batteries had been dead for a while and the previous configuration was lost. This is a fairly easy process: First, you hold down the Program button on the Protel board and take the handset off hook. At this point you should hear a beep. Afterwards, dial 00XXXXXXXXXX where XXXXXXXXXX is the ten-digit phone number of the line the phone is connected to (but I don’t think this really matters or needs to be accurate). After this, you’ll hear another beep and at that point the phone has default configuration.

I’m not entirely sure exactly what default configuration entails when it comes to call cost, but I certainly don’t want to put money into this phone for testing considering I don’t have a key to the coinbox to get my coin back. Toll-free calls however are always… well… toll-free and incur no cost, so I dialed the trusty MCI ANAC number 1-800-444-4444 and sure enough my call connected and read back my telephone number!
The phone now definitely “works” but there is still more to be done. Next up, we will program in rates and discuss locks!