Flashing OpenWRT on the GL-AR300M16 Router
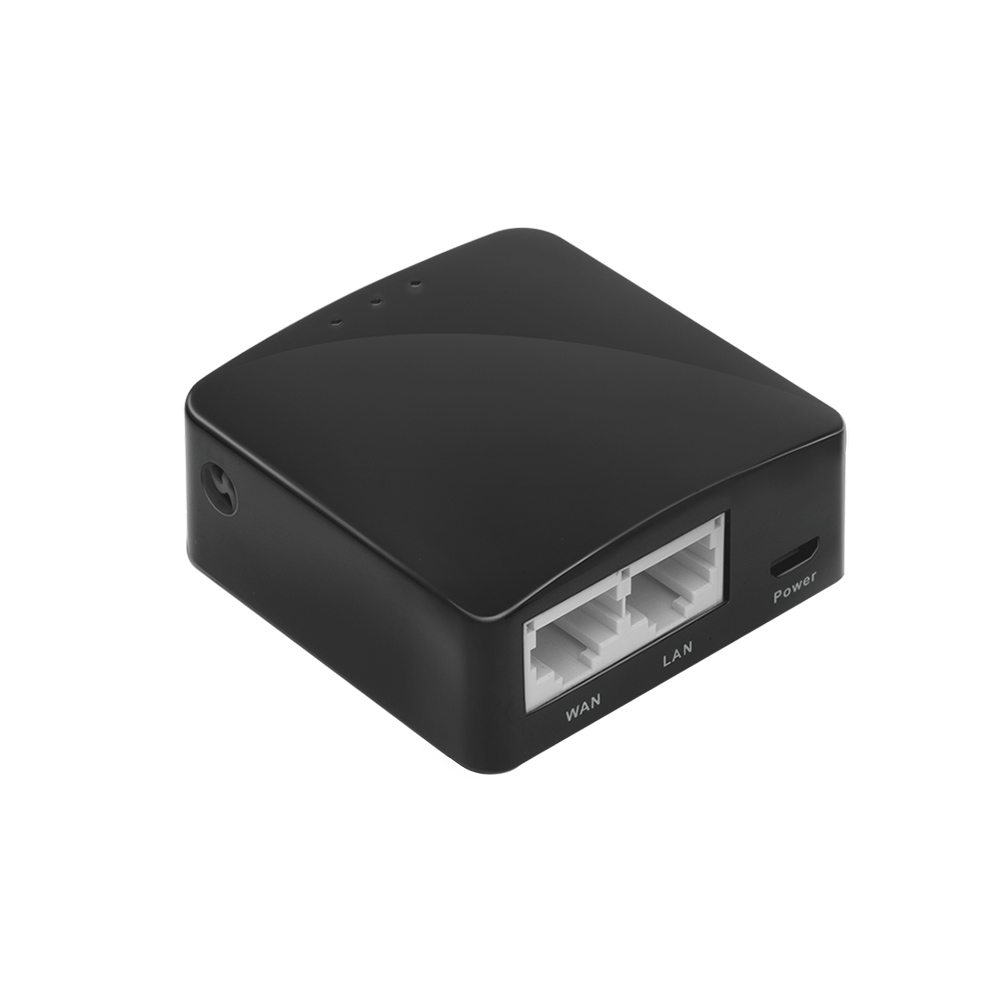
The GL-AR300M16 is a low cost “travel router” manufactured by GL.iNet that replaces the GL-AR300M. The main difference here seems to be that the GL-AR300M16 lacks any NAND memory so the 16MB NOR memory must be used. Unfortunately the original model is no longer available.
This device seems to be cost-effective at around $27 USD. This is around the same price as a used Archer A7/C7, which is a great router, but the GL device is much less power-hungry and incredibly small.
Note: This device is very different than the GL-MT300N-V2 (Mango) device even though they are offered at the same price point and seem to have an identical form-factor. The the GL-AR300M16 has a well supported Qualcomm Atheros QCA9531 chipset, the GL-MT300N-V2 has a MediaTek MTK7628NN chipset.
Official site: https://store.gl-inet.com/products/gl-ar300m16-mini-smart-router
Flashing OpenWRT
We will be installing the powerful, open-source OpenWRT software on this router due to its performance, extensibility, and community support. Additionally, OpenWRT provides an identical interface regardless of underlying hardware so it would provide a seamless administrator experience even with heterogeneous hardware deployed in the field.
Initial Flash
The AR300M16 can be flashed via the stock GL.iNet web interface. Connect an ethernet cable between your computer and the LAN jack on the router and navigate to https://192.168.8.1 to login. NOTE: You may need to disable wireless on the computer you are using in order to access this router URL. I recommend skimming this document beforehand and downloading both the initramfs and squashfs firmware files listed below ahead of time.
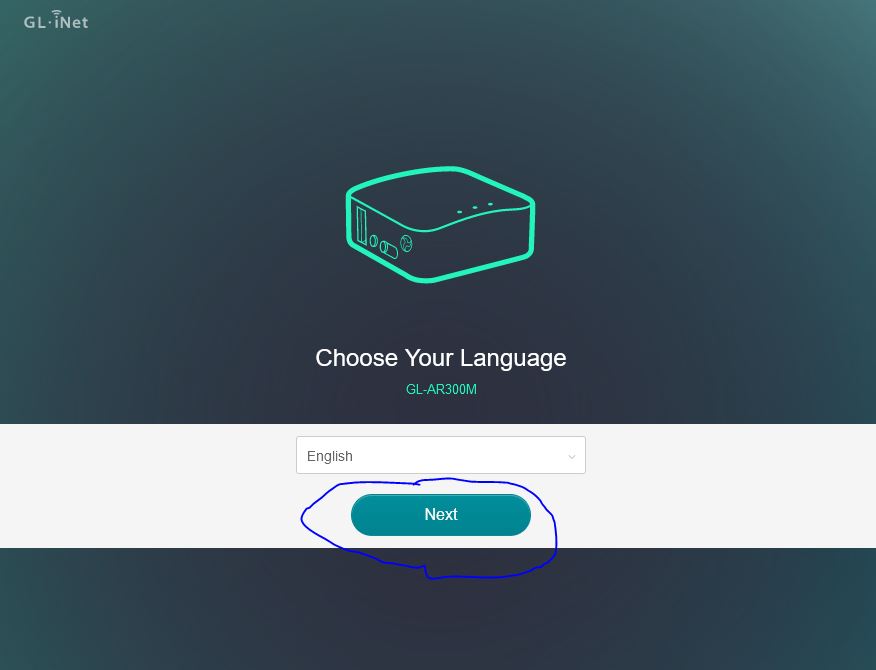
Once in the web interface, pick a language and press the Next button.
Now, set an administrator password and press the Submit password. This password does not matter as we will be installing new firmware anyway so just make it something you will remember.

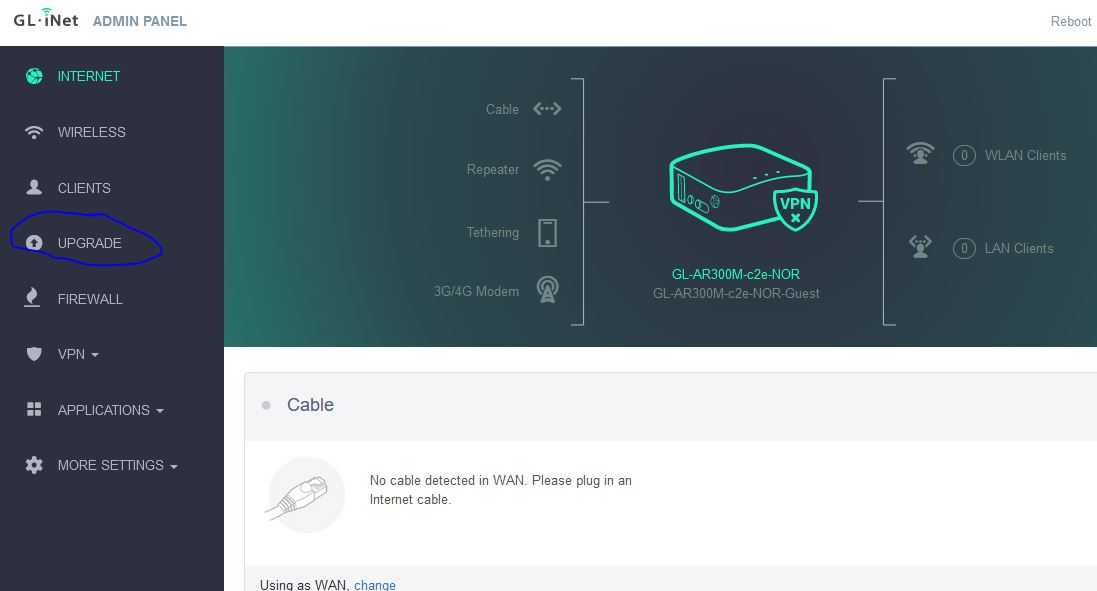
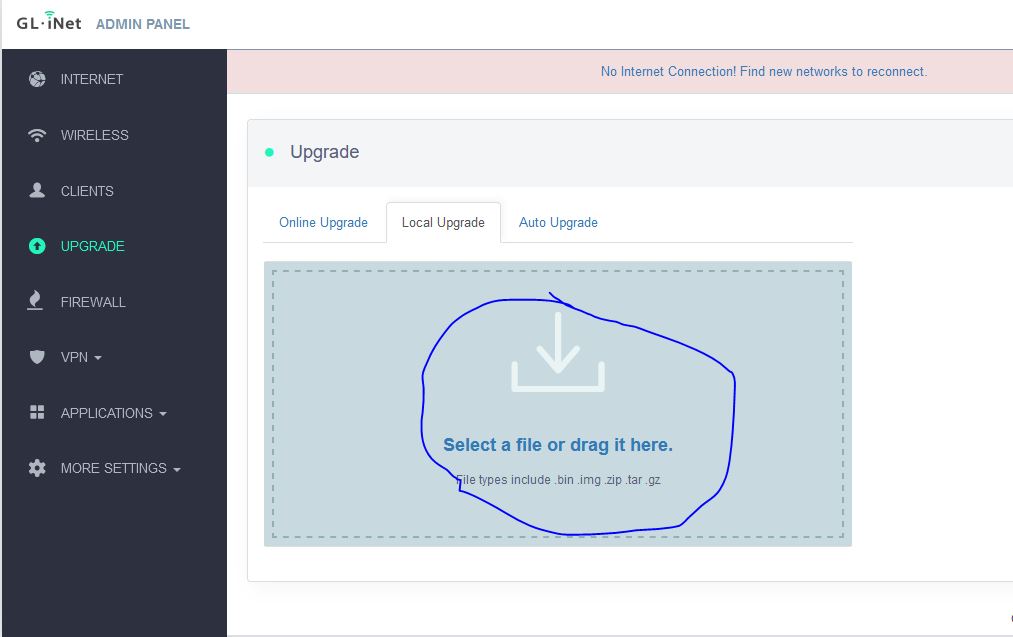
Use the left navigation to continue to the Upgrade page and choose the tab for Local Upgrade.
We will now want to flash an OpenWRT initramfs firmware image to the router so we need to download one. At the time of writing, https://downloads.openwrt.org/releases/22.03.2/targets/ath79/generic/openwrt-22.03.2-ath79-generic-glinet_gl-ar300m16-initramfs-kernel.bin was used. After downloading the file, drag and drop it into the upload section on the page. This may take around ten seconds to upload.
Next, uncheck the option for Keep Settings.
Finally, press the Install button and wait a few minutes for the firmware to be flashed. Do not unplug anything during this process.

After a few minutes, the flash should be complete. You will see the status bar hit 100% and get a dialog stating the connection has been lost.
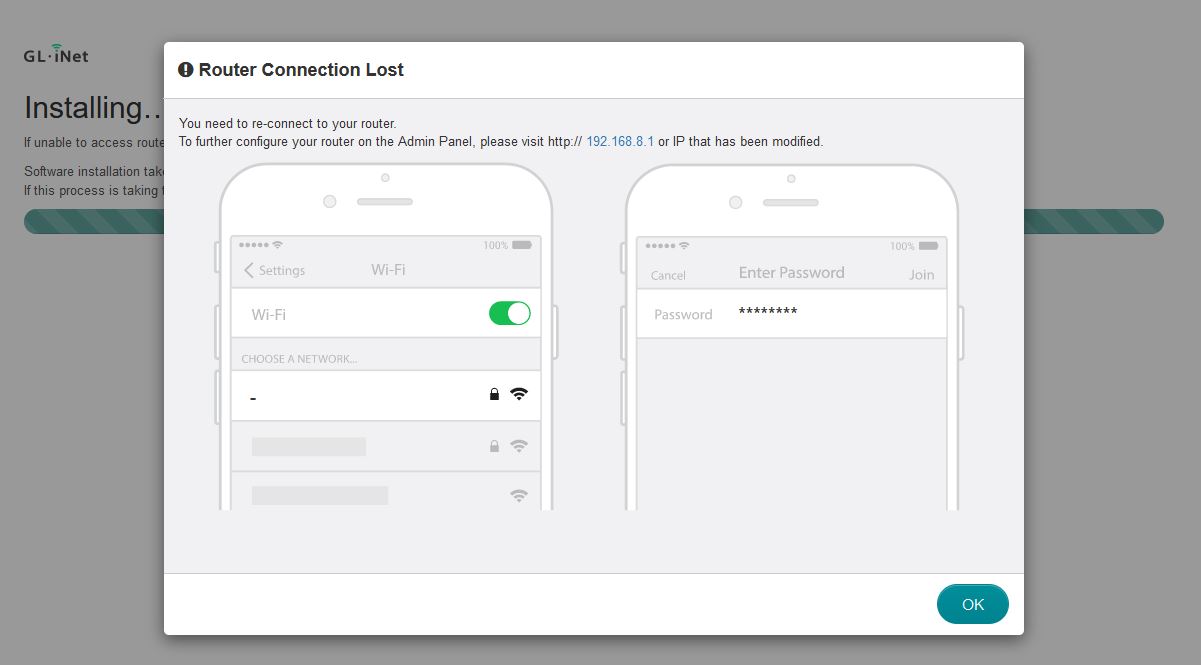
At this point you should be able to access luci (OpenWRT’s web interface) through http://192.168.1.1 and then you can proceed with the second flash.
Second Flash
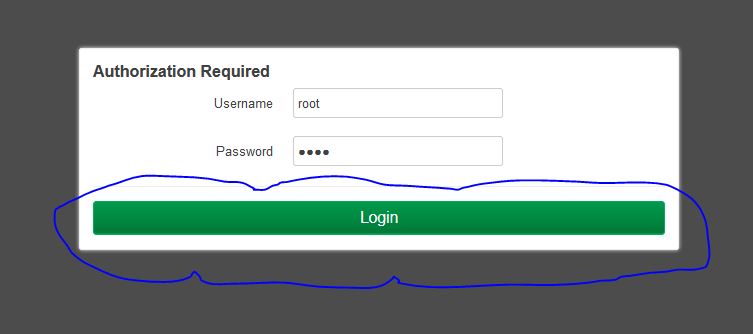
If all goes well, we will now want to flash with a squashfs image so we can make our changes persistent and not boot from a ramdisk. Bring up the OpenWRT web interface by navigating to http://192.168.1.1 in your browser (if you get a security warning you are safe to accept the risk and continue).
Enter root as both the username and password and press the Login button.
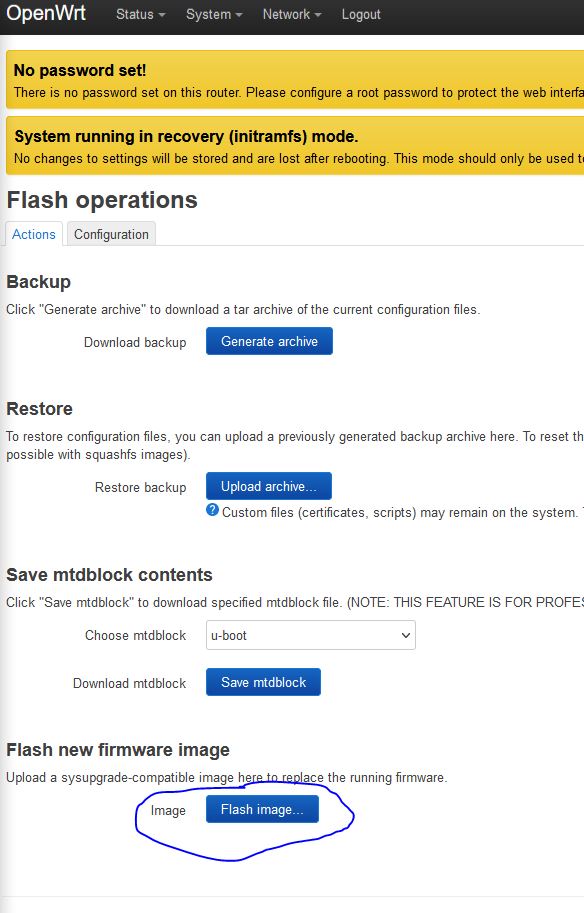
In the dashboard, navigate to System –> Backup / Flash Firmware.
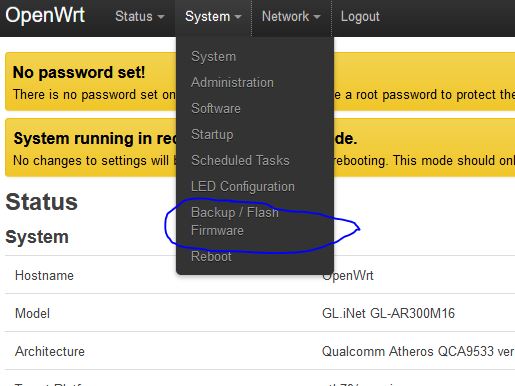
Scroll down to the Flash new firmware image section.
We will now want to flash an OpenWRT squashfs firmware image to the router so we need to download one. At the time of writing, we will use https://downloads.openwrt.org/releases/22.03.2/targets/ath79/generic/openwrt-22.03.2-ath79-generic-glinet_gl-ar300m16-squashfs-sysupgrade.bin
Press the button for Flash image….
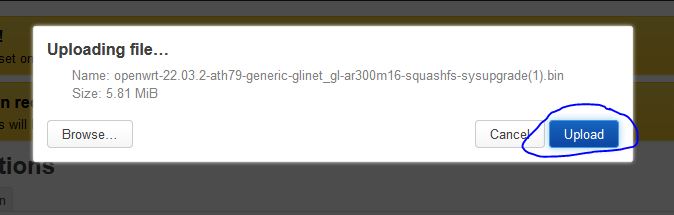
In the resulting popup, press the Browse… button and choose the squashfs image to flash with. Then press the Upload button.
Uncheck the option for Keep settings and retain the current configuration. Finally, press the Continue button and flash the router.
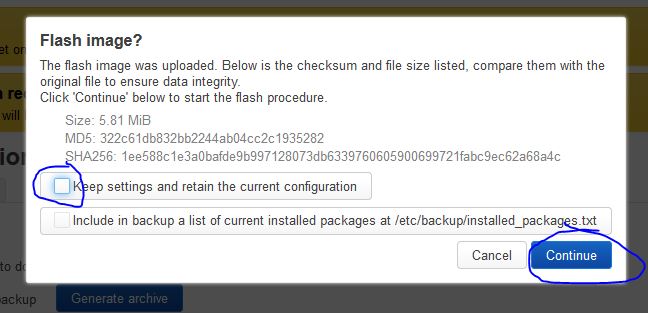
Do not unplug anything during this process. Again, this may take a few minutes but after some time the web interface should come back up in your current browser tab and prompt you to log in again.
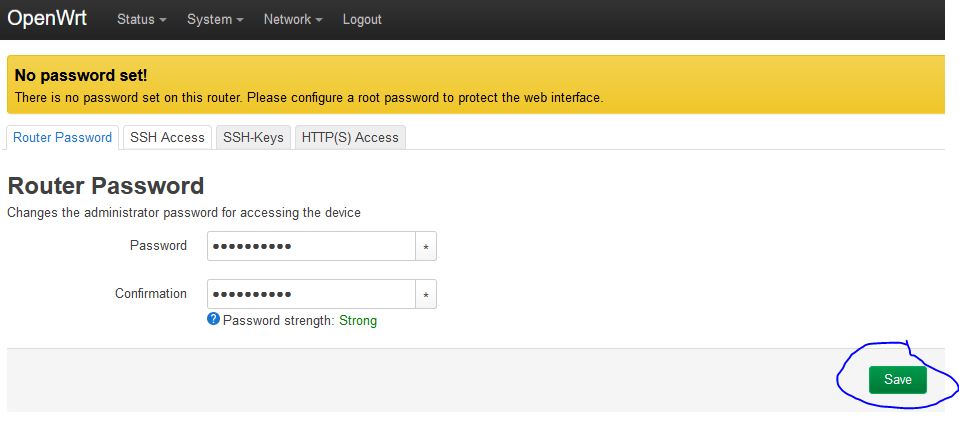
Set root Password
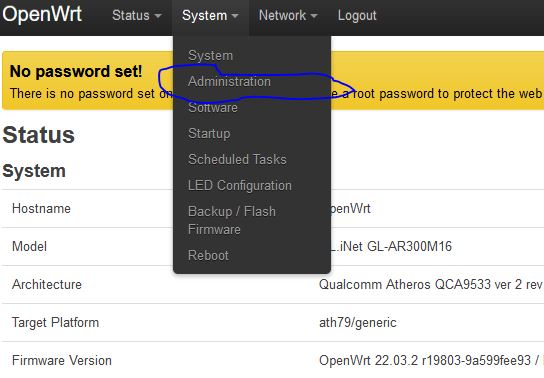
Next, we need to set the root password. Navigate to https://192.168.1.1 to access the router and log in using root as the username and password. Once logged in, navigate to System –> Administration.
Then on the Router Password tab, enter a password and a confirmation before pressing the Save button.
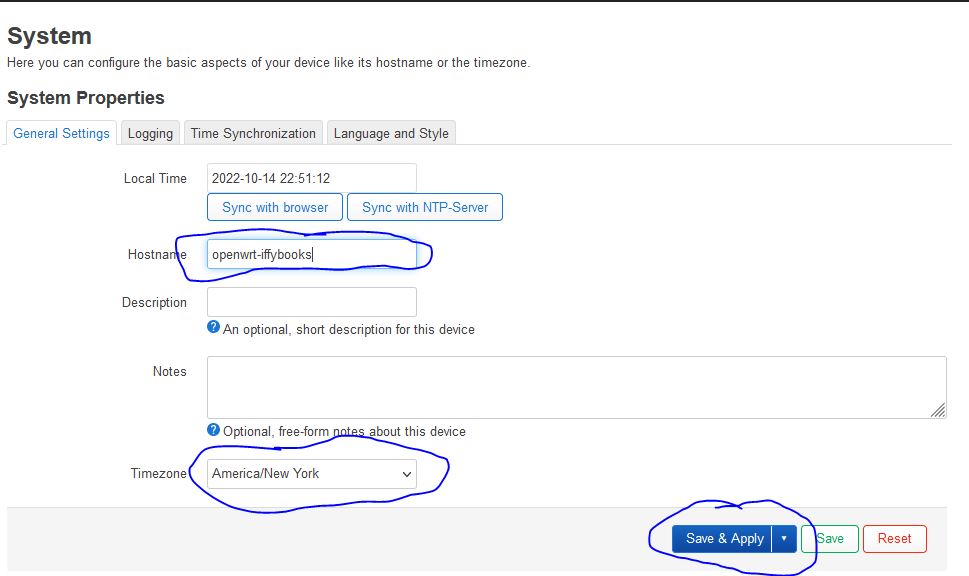
Set Hostname and Timezone
Once logged into the router, navigate to System –> System
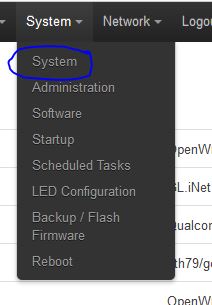
Now, give the router an appropriate Hostname based on the installation location and set the proper Timezone before pressing the Save & Apply button.