Creating New Payphone Instruction Cards
Before we install our first payphone, it is important to get it cleaned up and ready for the big day.
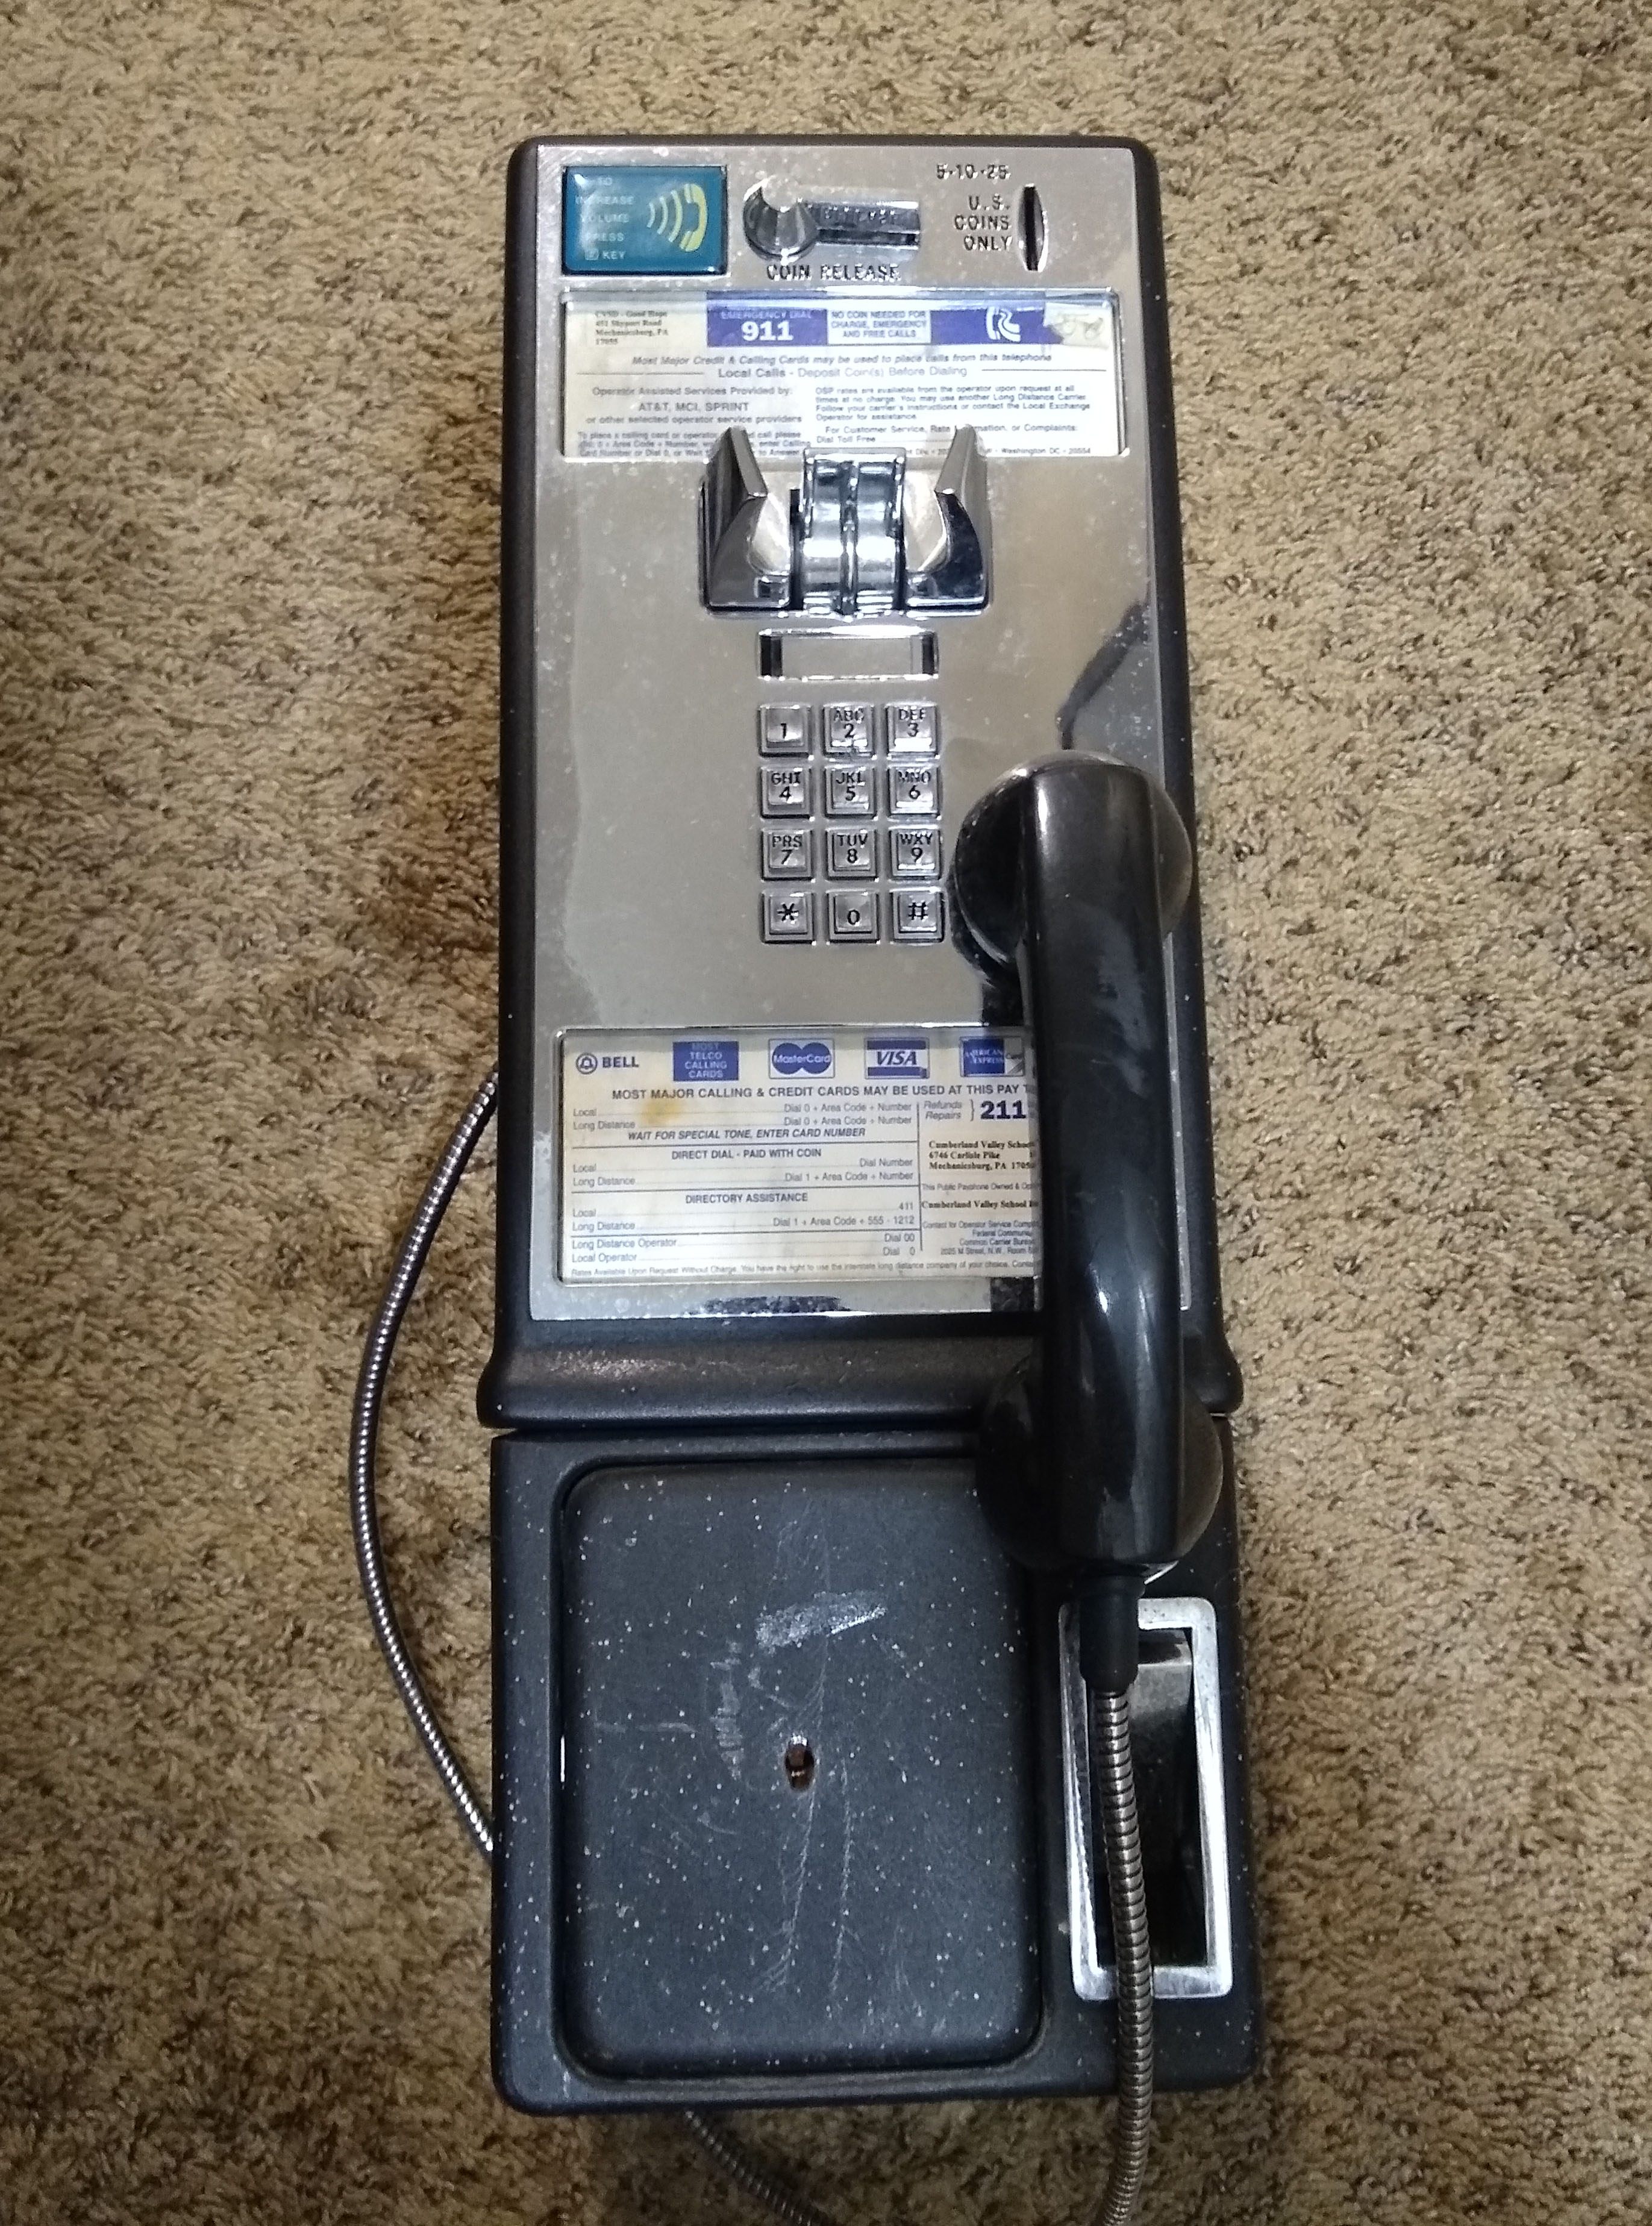
Luckily with some multi-purpose cleaner, cotton swabs, and a lot of elbow grease, the phone looked substantially better and infinitely more presentable. Aside from a standard cleaning, there were a few rust spots on the housing, but they cleaned up well with white vinegar. What was not easily cleaned, or worth saving, were the instruction cards on the top and bottom of the upper housing.

Most payphone instruction cards are simple pieces of card-stock printed with phone information and encased in the phone behind a thin piece of plastic. Over time, these cards can deteriorate as they are exposed to sunlight and moisture. Further, the plastic over the cards can similarly degrade and become cloudy, reducing readability. The instruction cards in our payphone appear to be generic cards, so we could easily get some replacement cards in a similar style and be on our way, but since we’ll be potentially operating several of these phones ourselves and want to provide information about the project and the phone’s ability to make free calls, it is much more beneficial (and fun) to make our own cards.
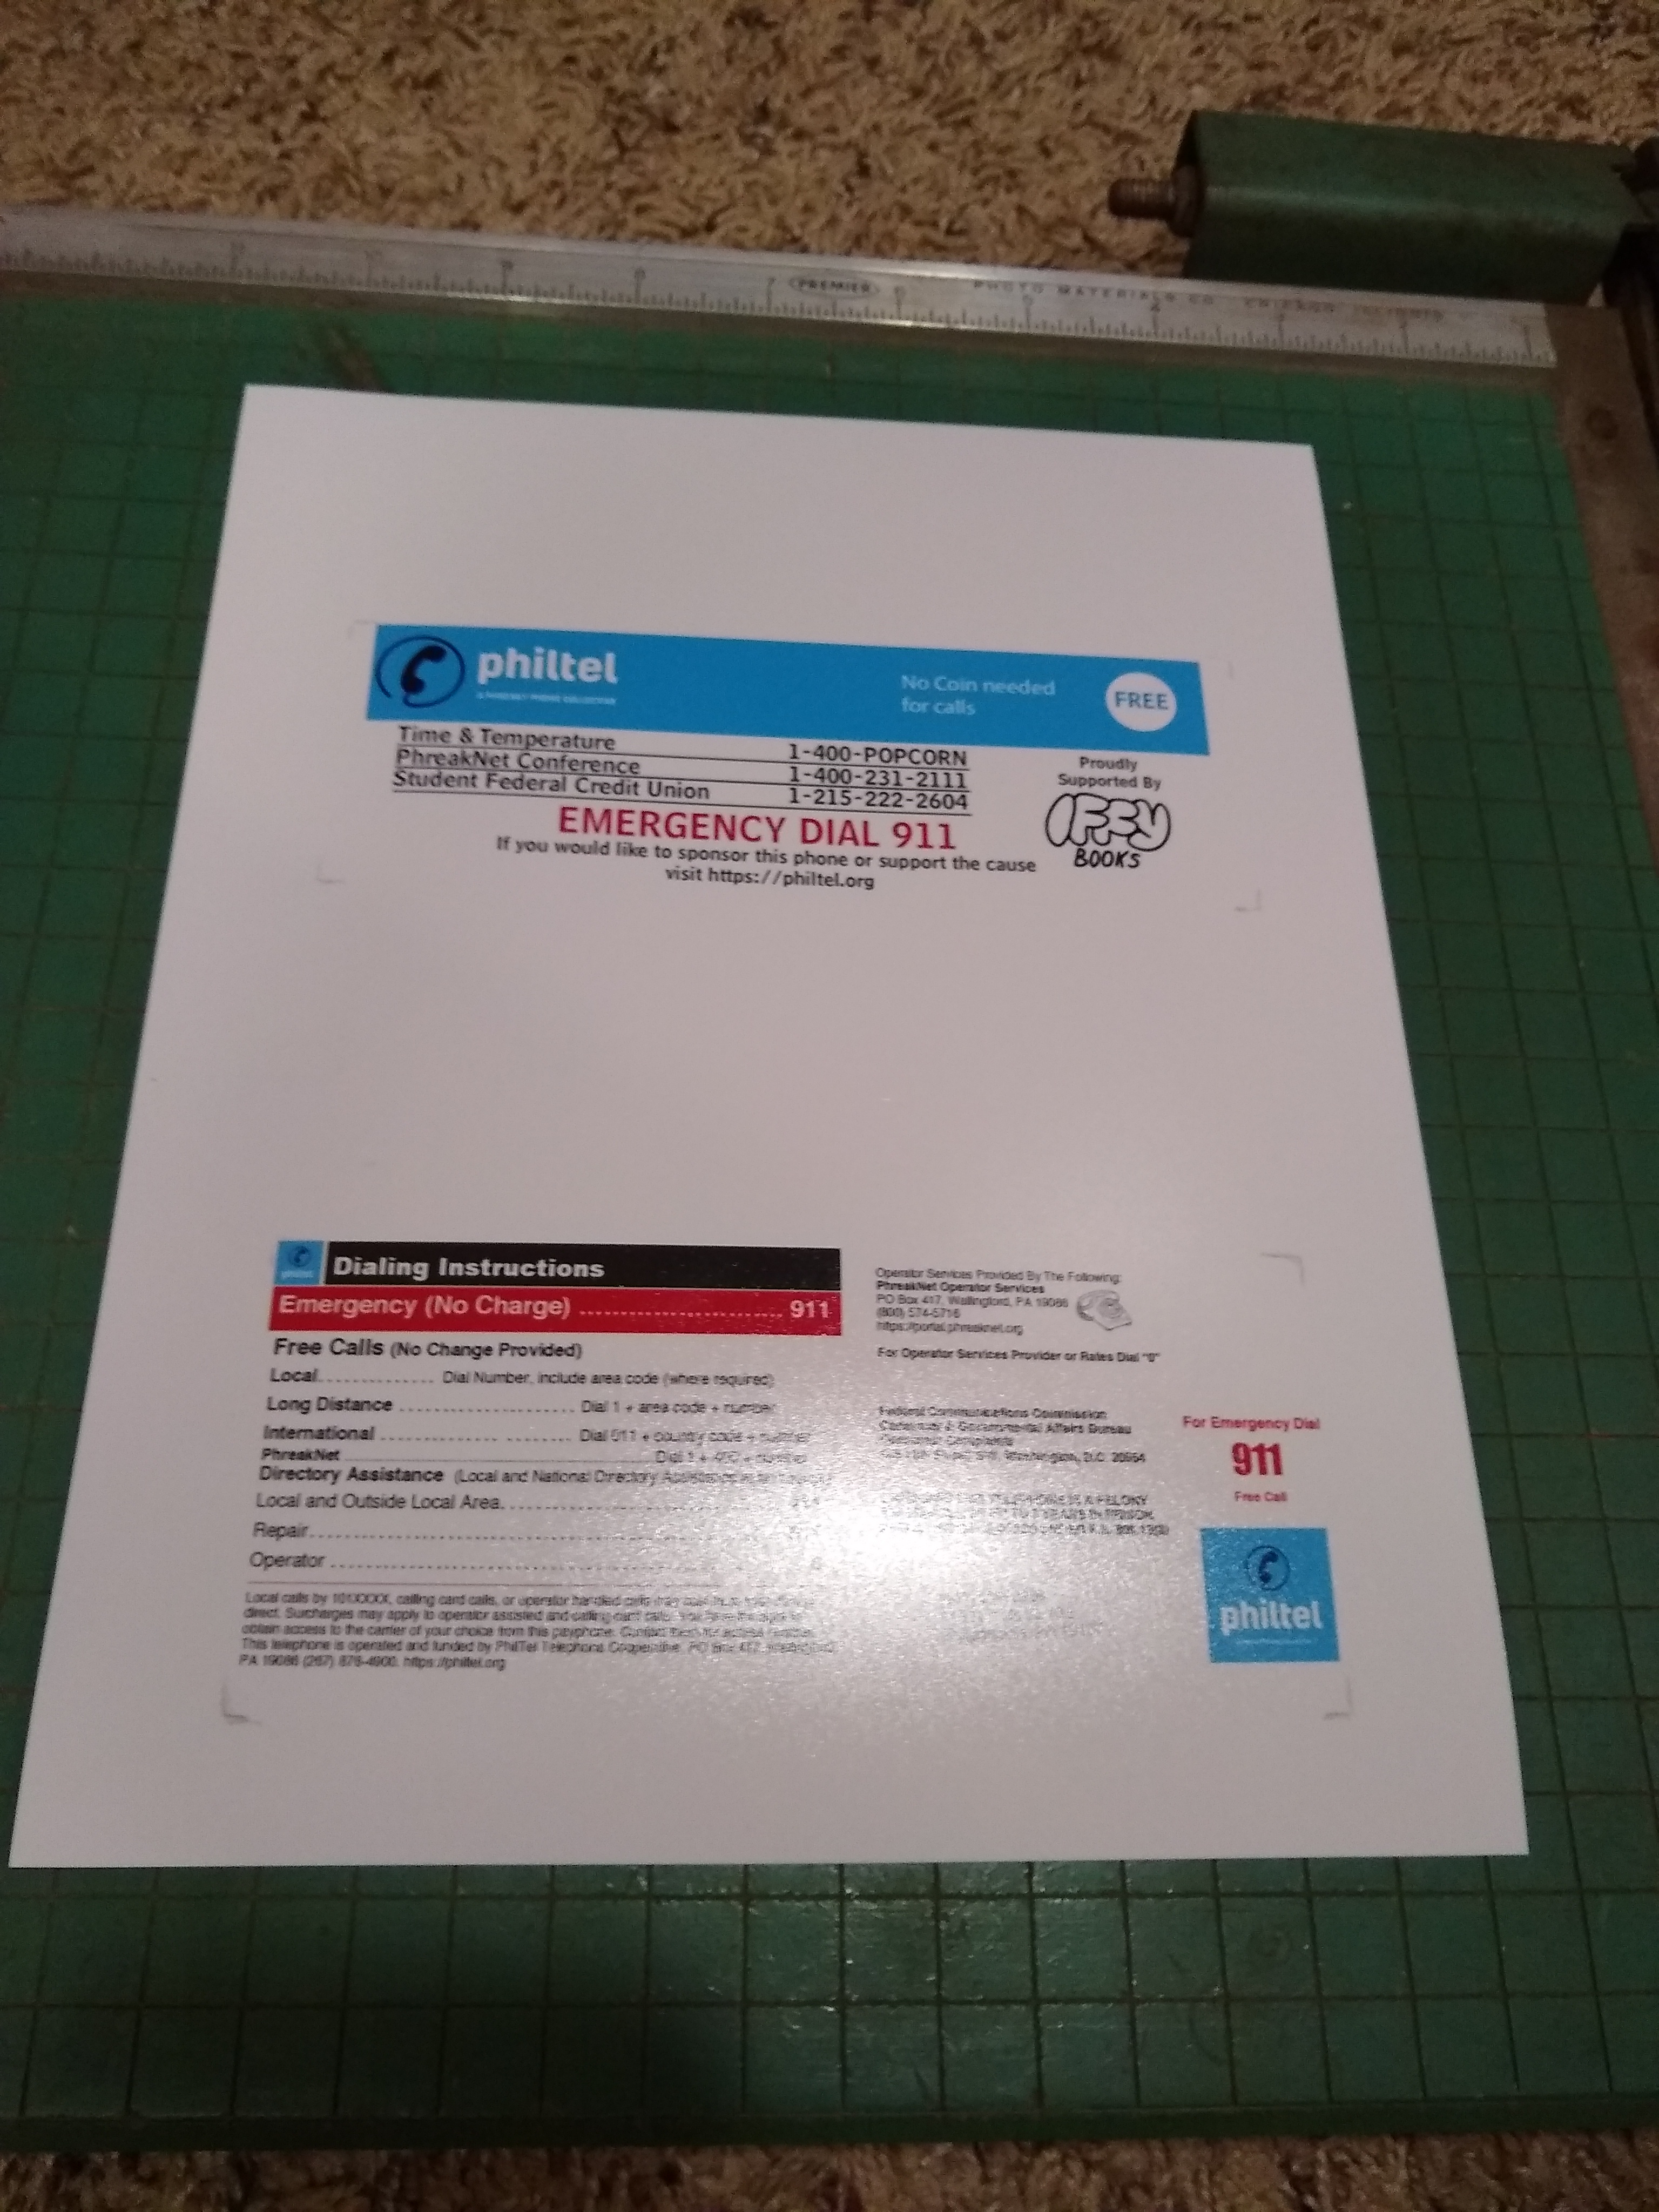
Luckily, payphone instruction cards are fairly standard in size and there are high quality scans of existing cards out there. Naveen was able to make a custom bottom card based on existing designs while a community member contributed a top card. After sizing the cards in an image editor to roughly match our existing card dimensions, I was able to print them out on standard printer paper and cut them to size using a guillotine trimmer to do a fit test. Unfortunately my trimmer is not incredibly sharp and left some ragged edges on the paper, but I was able to do a sanity check to make sure things fit well enough to get the cards printed in higher quality.
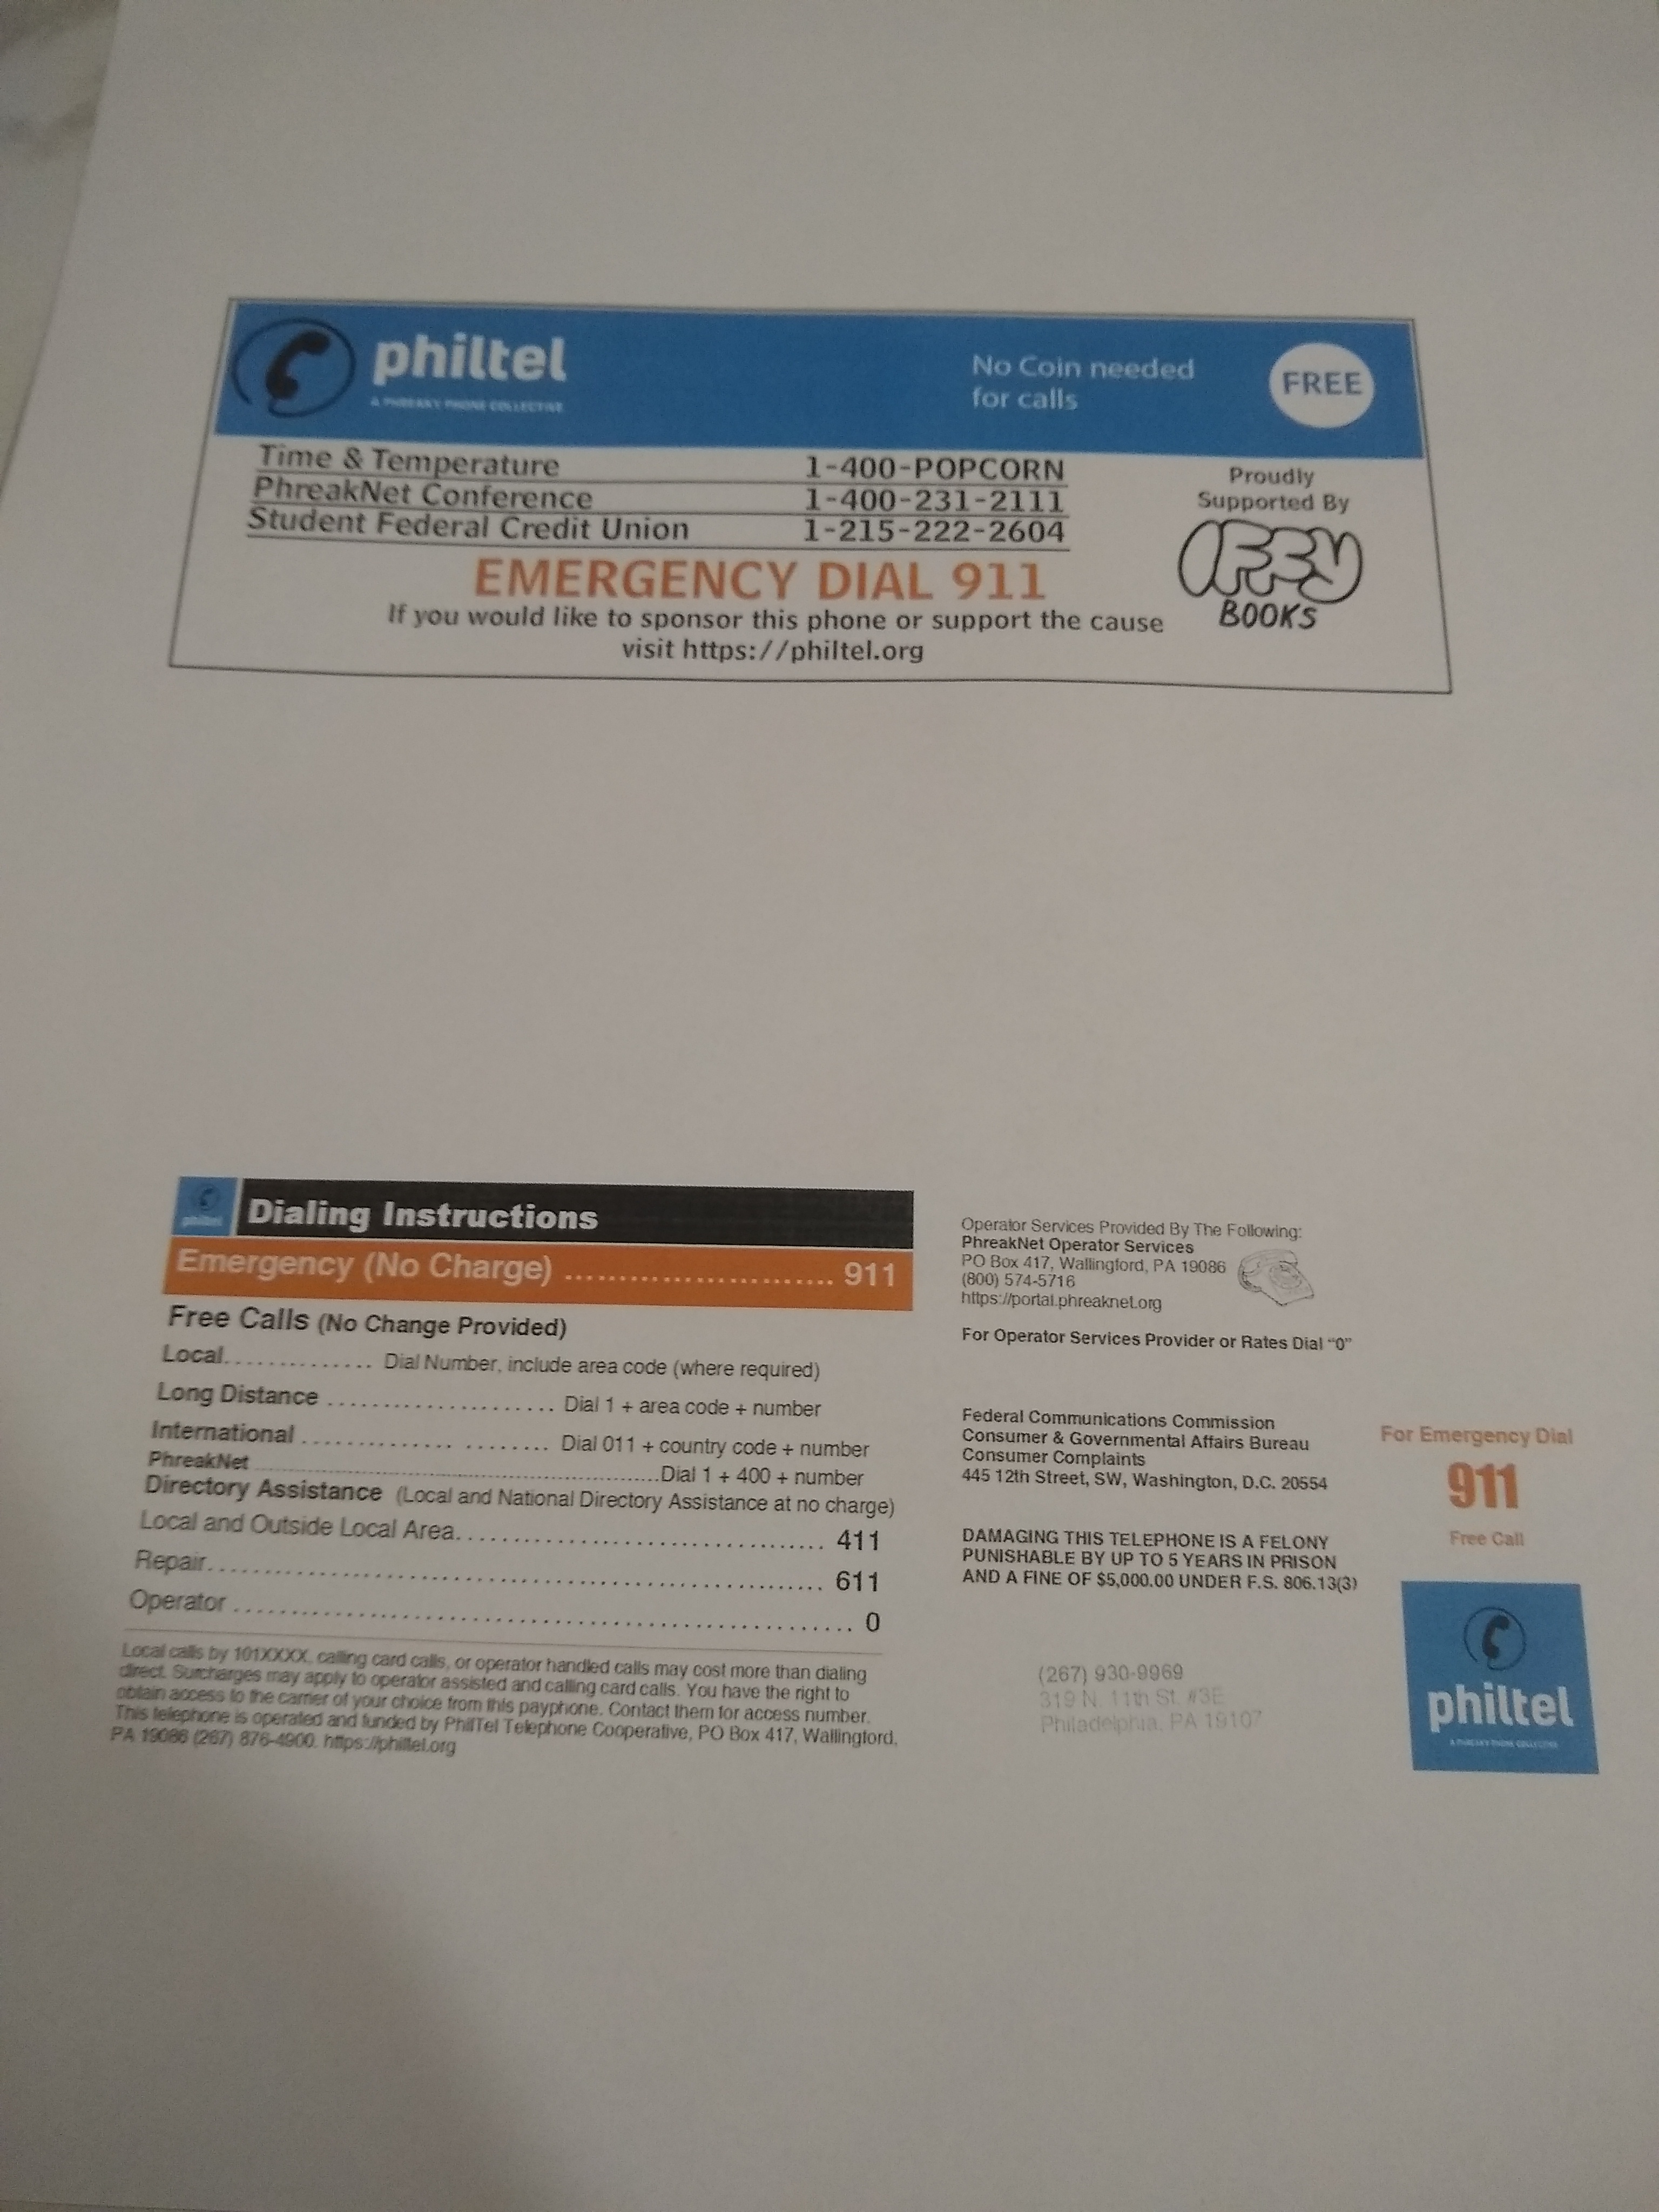
I decided to get the cards printed on matte photo paper from Amazon which proved to be a great decision as the resulting “photo” was vibrant and easy to read. For replacement plastic covers, I was able to order some from Payphone.com, though you could likely cut your own from a larger sheet. My guillotine trimmer worked great on the photo paper, so I was able to trim the cards down to size pretty quickly. I also found out that the plastic covers I got were slightly larger than the ones I took out of the phone, so I had to trim these down as well so they would fit properly in their slots.
Ultimately, I think that the instruction cards look pretty great in the phone, though I could have done a better job with how I cut the cards with regards to whitespace. The top plastic cover was also a bit too large when I installed it so it bows outwards slightly (and because of this there isn’t a great way to remove it without damaging it) but it doesn’t obscure the card underneath which is the most important thing to consider.

Hopefully these new cards will provide the user with information about the project and even provide some numbers to call if they can’t think of any!